Map toll costs and download the QuickBooks toll report
Once QuickBooks is connected, each toll goes there as a journal entry when you save it. The spreadsheet is for days QuickBooks has not received, or to match a provider statement.
Step 1: Map the toll account
- Open Integrations, then QuickBooks Online, then Costs.
- Pick a QuickBooks account for Tolls.
- Click Save mapping.

Step 2: Download the toll report
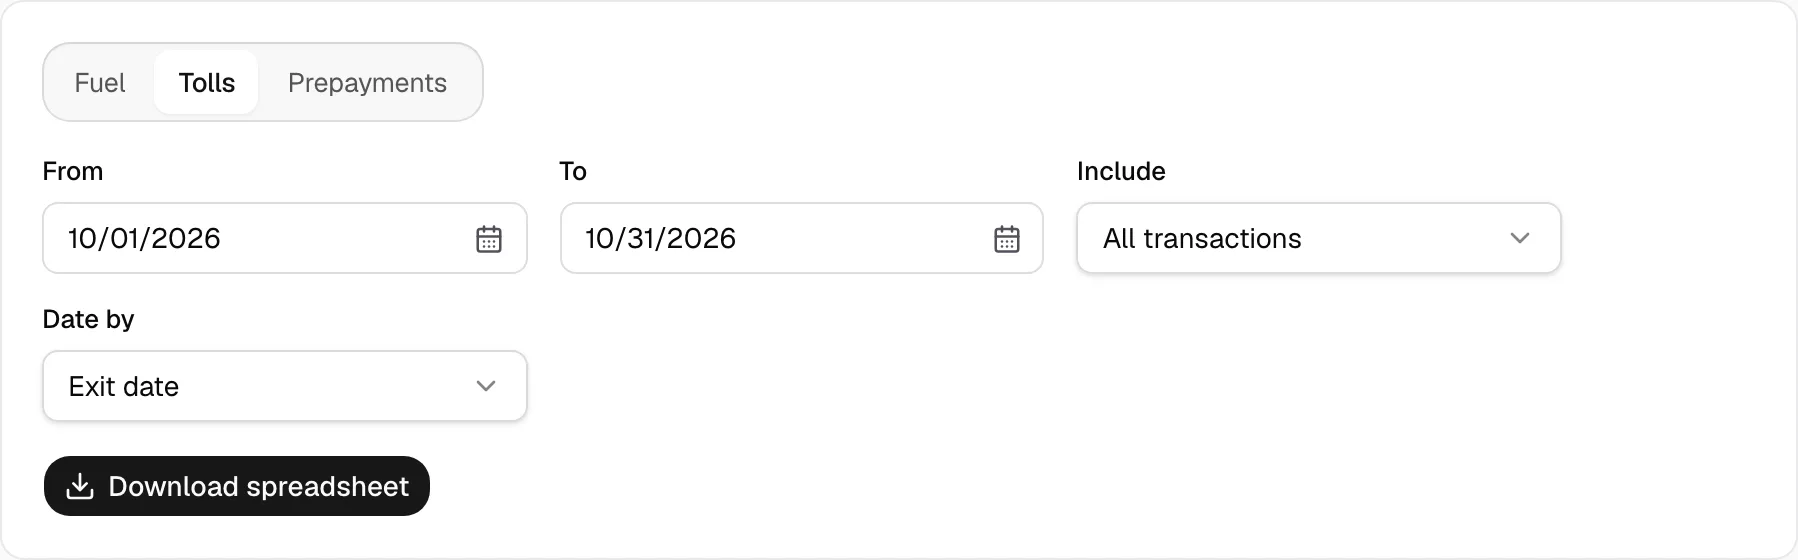
- Open Reports and pick Tolls. It works without a QuickBooks connection.
- Set From and To. Under Include, pick All transactions, Deducted from driver or Paid by company.
- Under Date by, pick Exit date or Post date, the day your provider posted the toll.
- Click Download spreadsheet.
Step 3: Import it in QuickBooks
- Import only days QuickBooks has not received: before you connected, or if you do not connect. Importing a connected range books every toll twice.
- In QuickBooks, click the gear, then Import data, and choose Expenses.
- Upload the file and match its columns: Exit date, Agency, Total and QuickBooks account.
- QuickBooks takes fewer than 1,000 rows at a time. Pick a shorter range for more.