 Nexus ELD setup guide1 min read
Connect Nexus ELD to Yolda
Nexus ELD brings drivers, trucks and truck positions into Yolda, without hours of service, odometer or speed.
Step 1: Get your API key from Nexus ELD
- In Nexus ELD, switch on Enable API access for every truck and driver (drivers: row menu on Drivers).
- Tracking is off on a new key, so ask for it.
Email to send
- To
- info@nexuseld.com
- Subject
- API key for Yolda
Hello,

We use Yolda as our TMS. Please create an API key for Yolda on our Nexus ELD account with Drivers, Vehicles and Tracking access, and send it to us.

Our USDOT number is [Your DOT number] and our MC number is [Your MC number].

Thank you,
[Your name]
[Your company name]
[Your company phone]
[Your email]
Replace the marked blanks before you send or paste.
Step 2: Connect Nexus ELD in Yolda
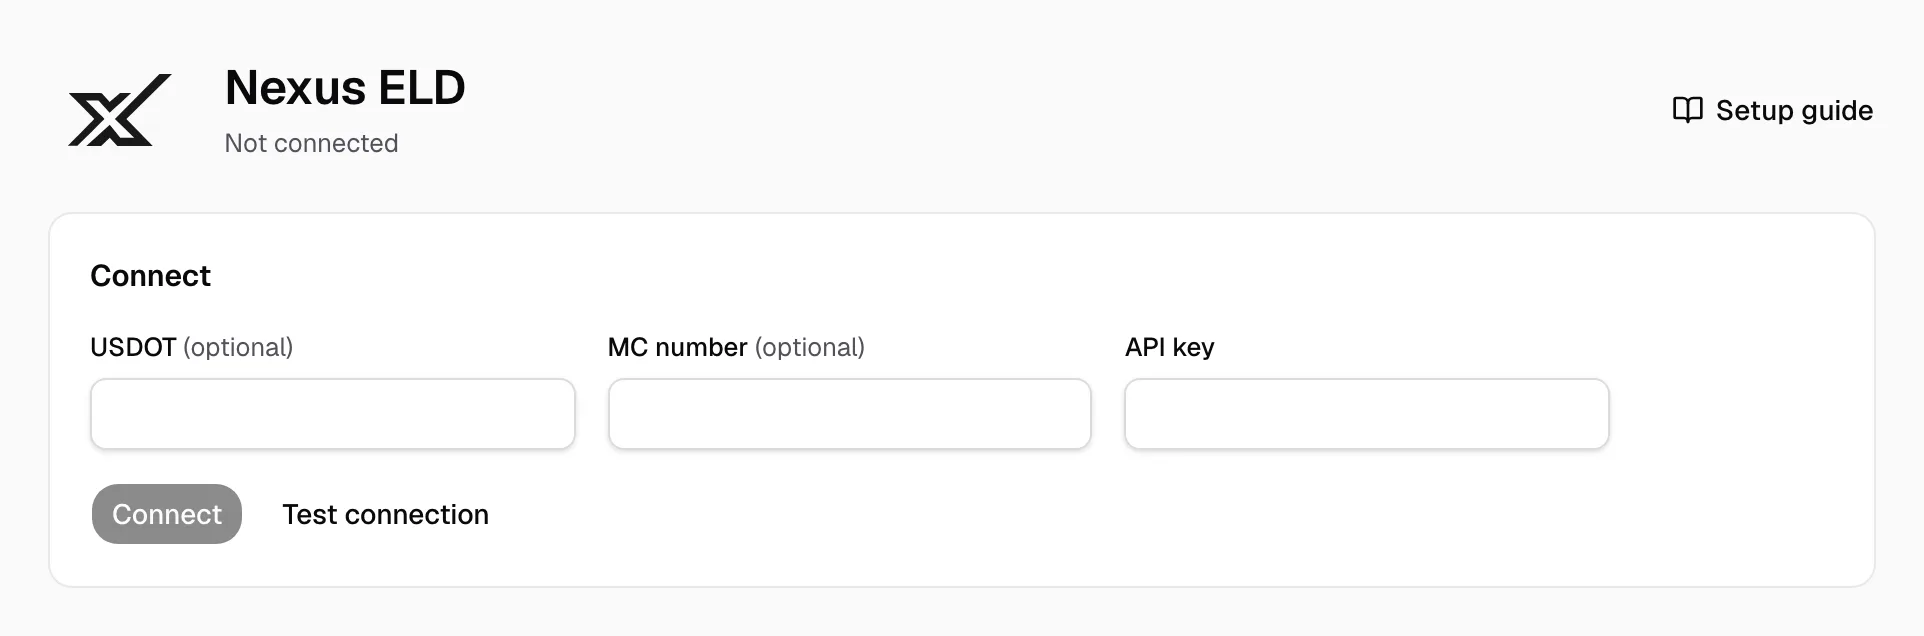
- Open Integrations, then Nexus ELD.
- Fill USDOT (
[Your DOT number]), MC number ([Your MC number]) and API key. - Click Test connection; it names your company. Then click Connect.
Step 3: Match drivers and vehicles
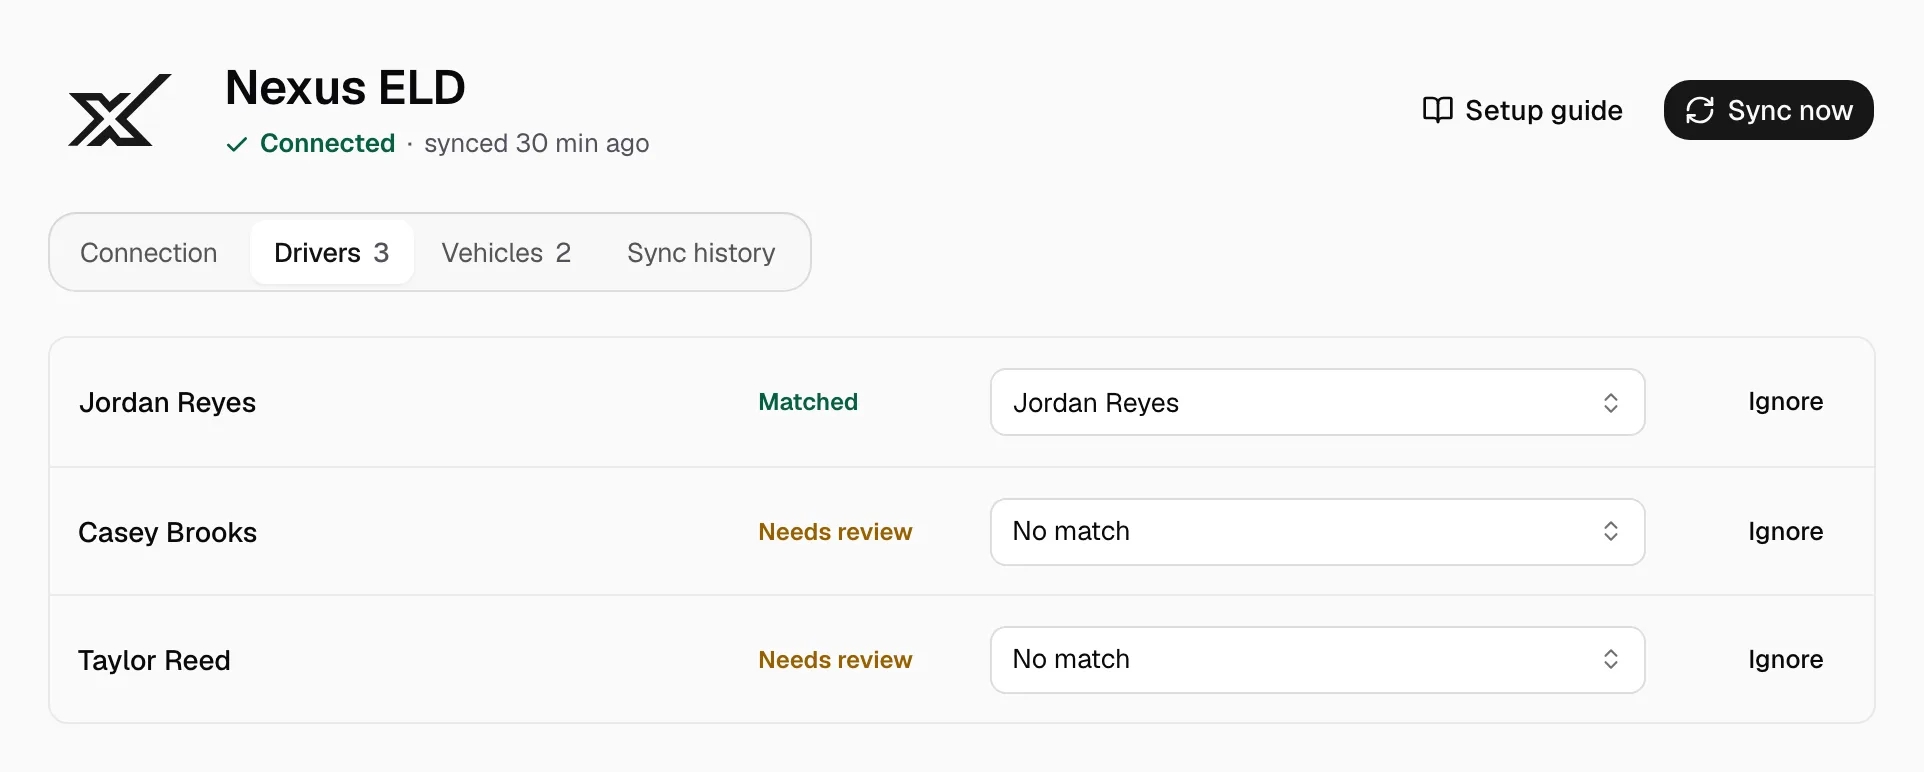
- On Drivers, pick the Yolda driver for each Needs review row (Nexus ELD sends only a name), or click Ignore.
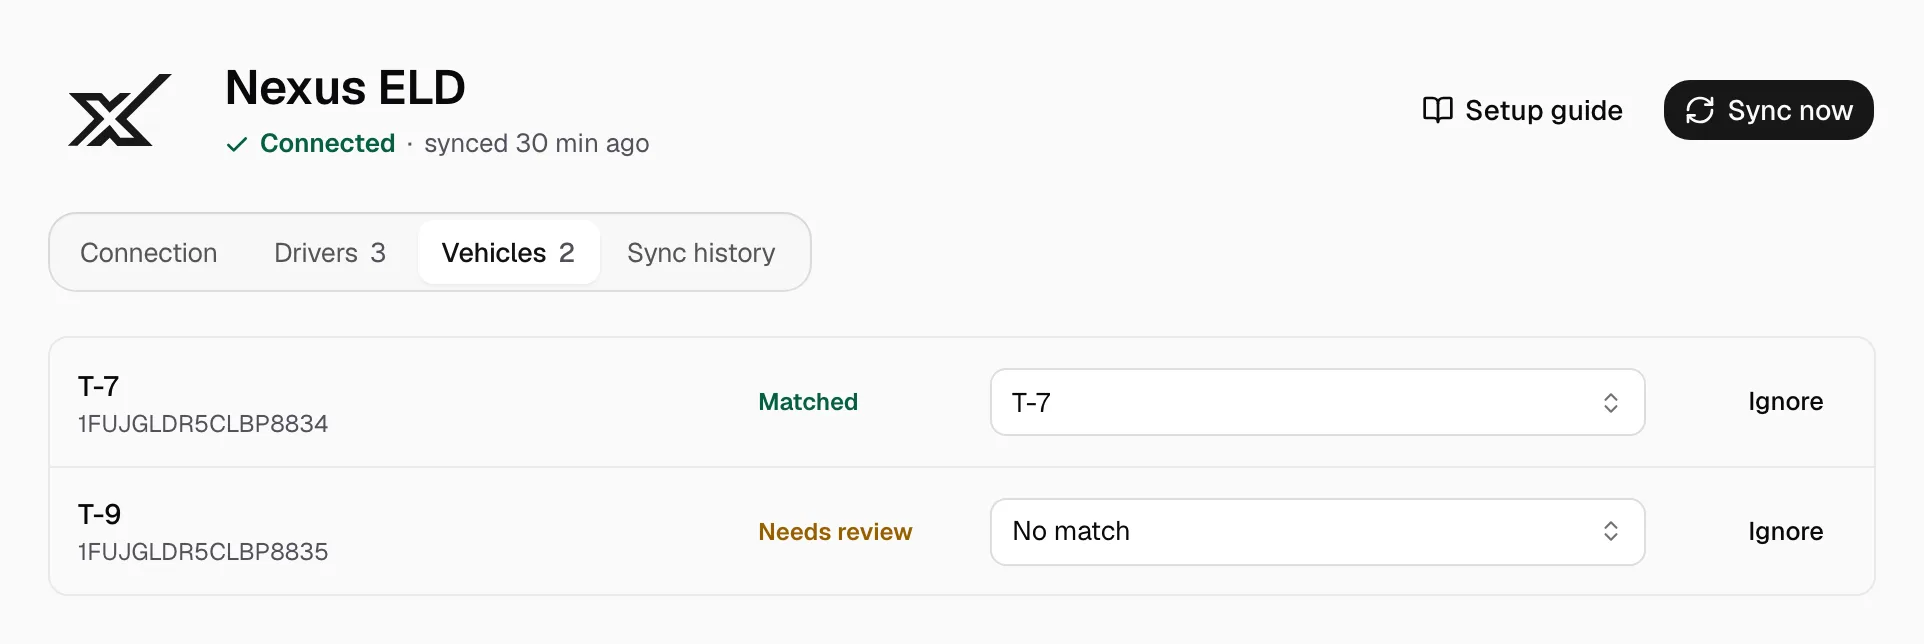
- On Vehicles, trucks link by VIN; pick the Yolda truck for each Needs review row, or click Ignore.
Step 4: Keep it in sync
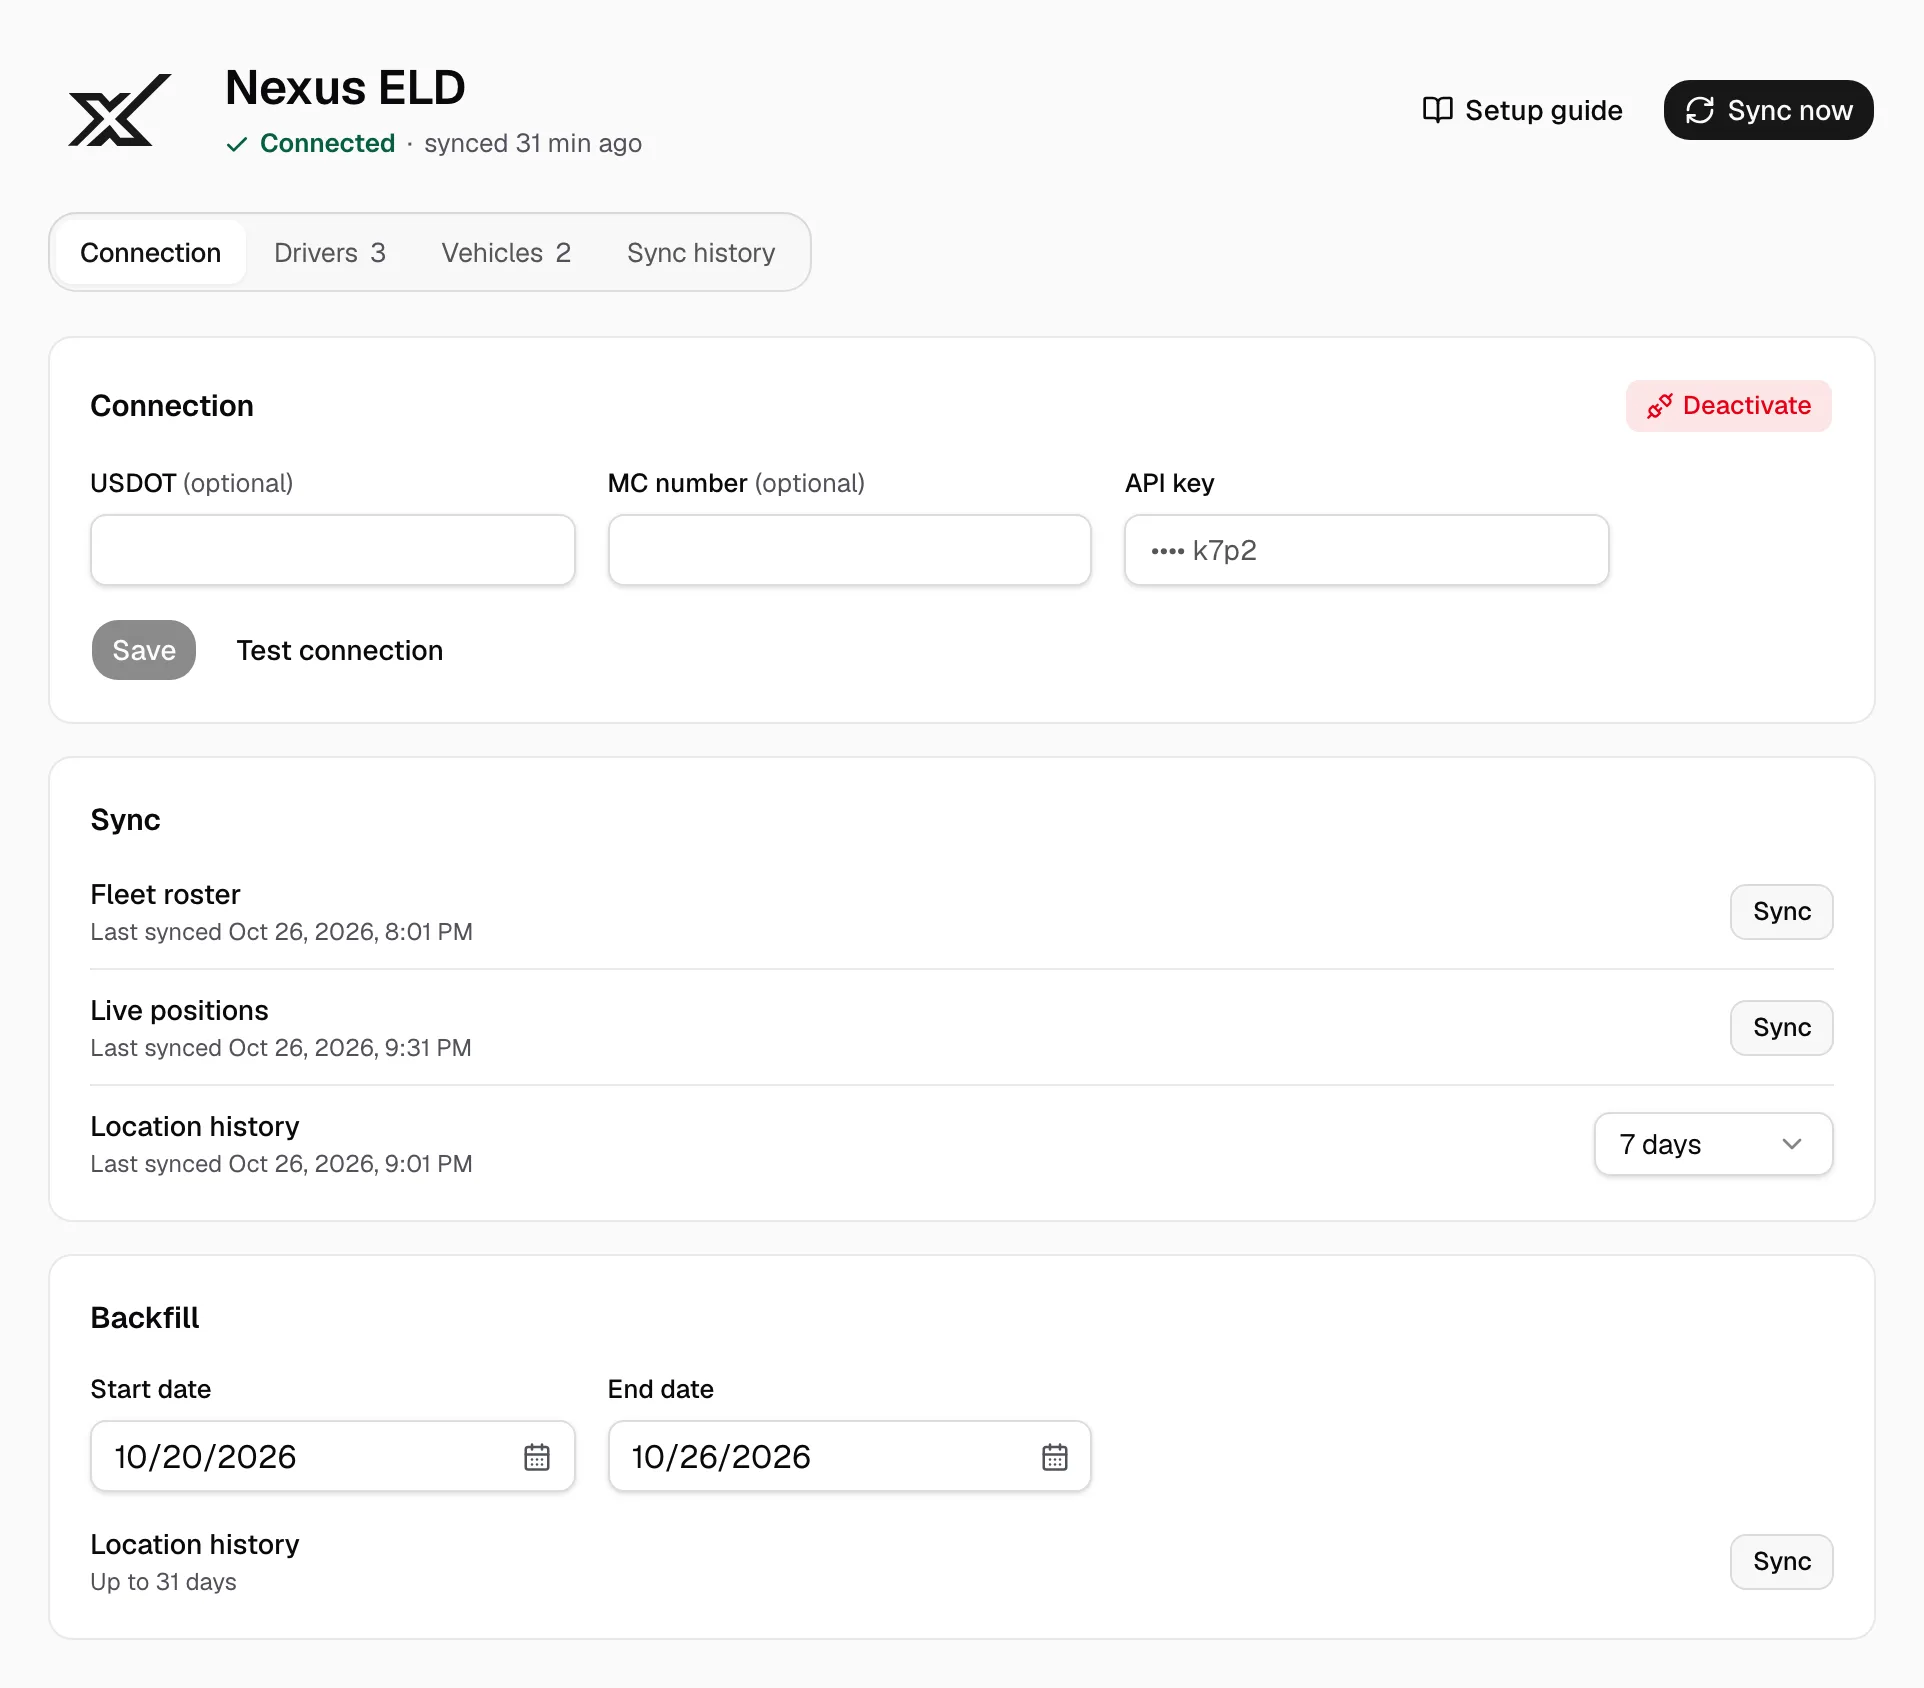
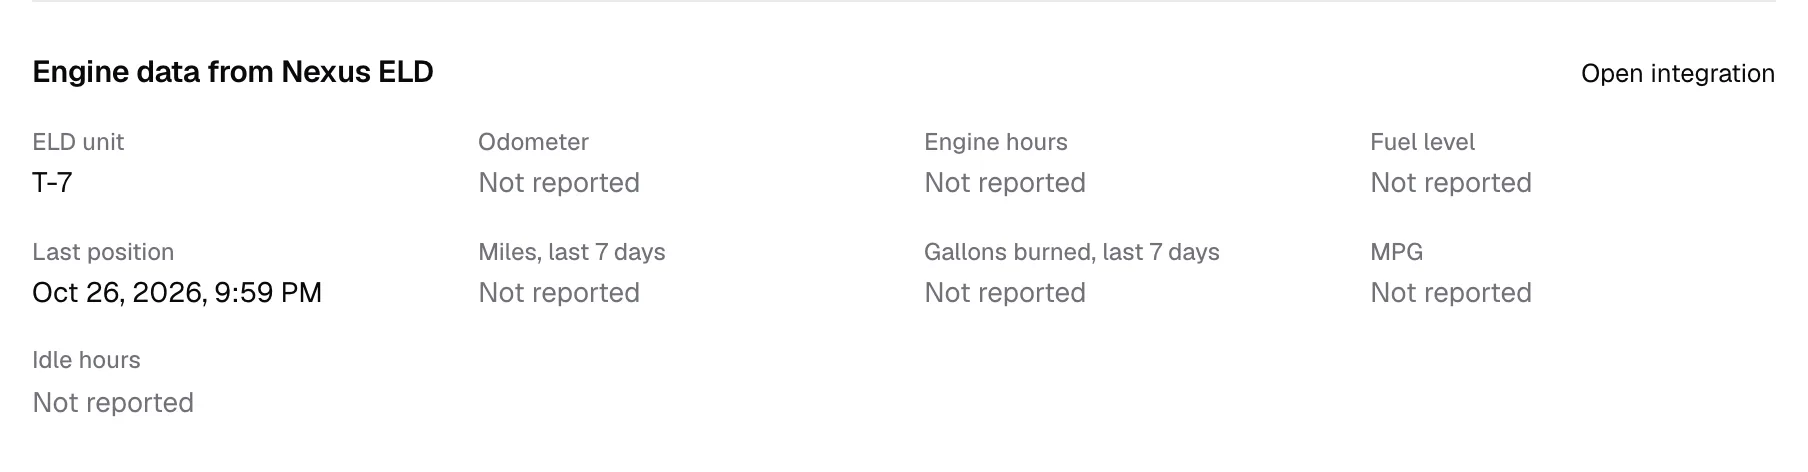
The page reads Connected. Positions refresh every five minutes, the roster at midnight; Sync now does both. A truck's page shows its last position under Engine data from Nexus ELD. Positions name no driver, so the Fleet map does not draw these trucks.
On Connection:
- Location history: how far back each read goes.
- Backfill: set Start date and End date, then Sync on Location history.
- Deactivate stops syncing; imported records stay.